
Photography: 2 Easy Ways to Edit Sky in Pictures

How did I edit the skies in my pictures?
This is probably the most frequently asked question for me on my instagram (@audt)!
Will be sharing two ways I've been doing this here today :)
So all along I've been doing this with photoshop.. but not as frequent as now because it is honestly quite tedious to find an image of a sky that will fit perfectly everytime.
Recently I found a phone app that makes things a lot easier for me.. but it's a paid app! So for those who already have photoshop installed in your computer and don't want to pay for an app.. I've included basic explanation + easy tutorials for you to follow too!

Enlighten Quickshot
This is the app I've been using to change the skies in my photos! It's honestly pretty amazing cos they have a pretty wide selection of skies to choose from, and each sky not only has a few different variations but it can be shifted too.

See, after choosing the sky you want, you can adjust the horizon, shift it, ambience, opacity etc
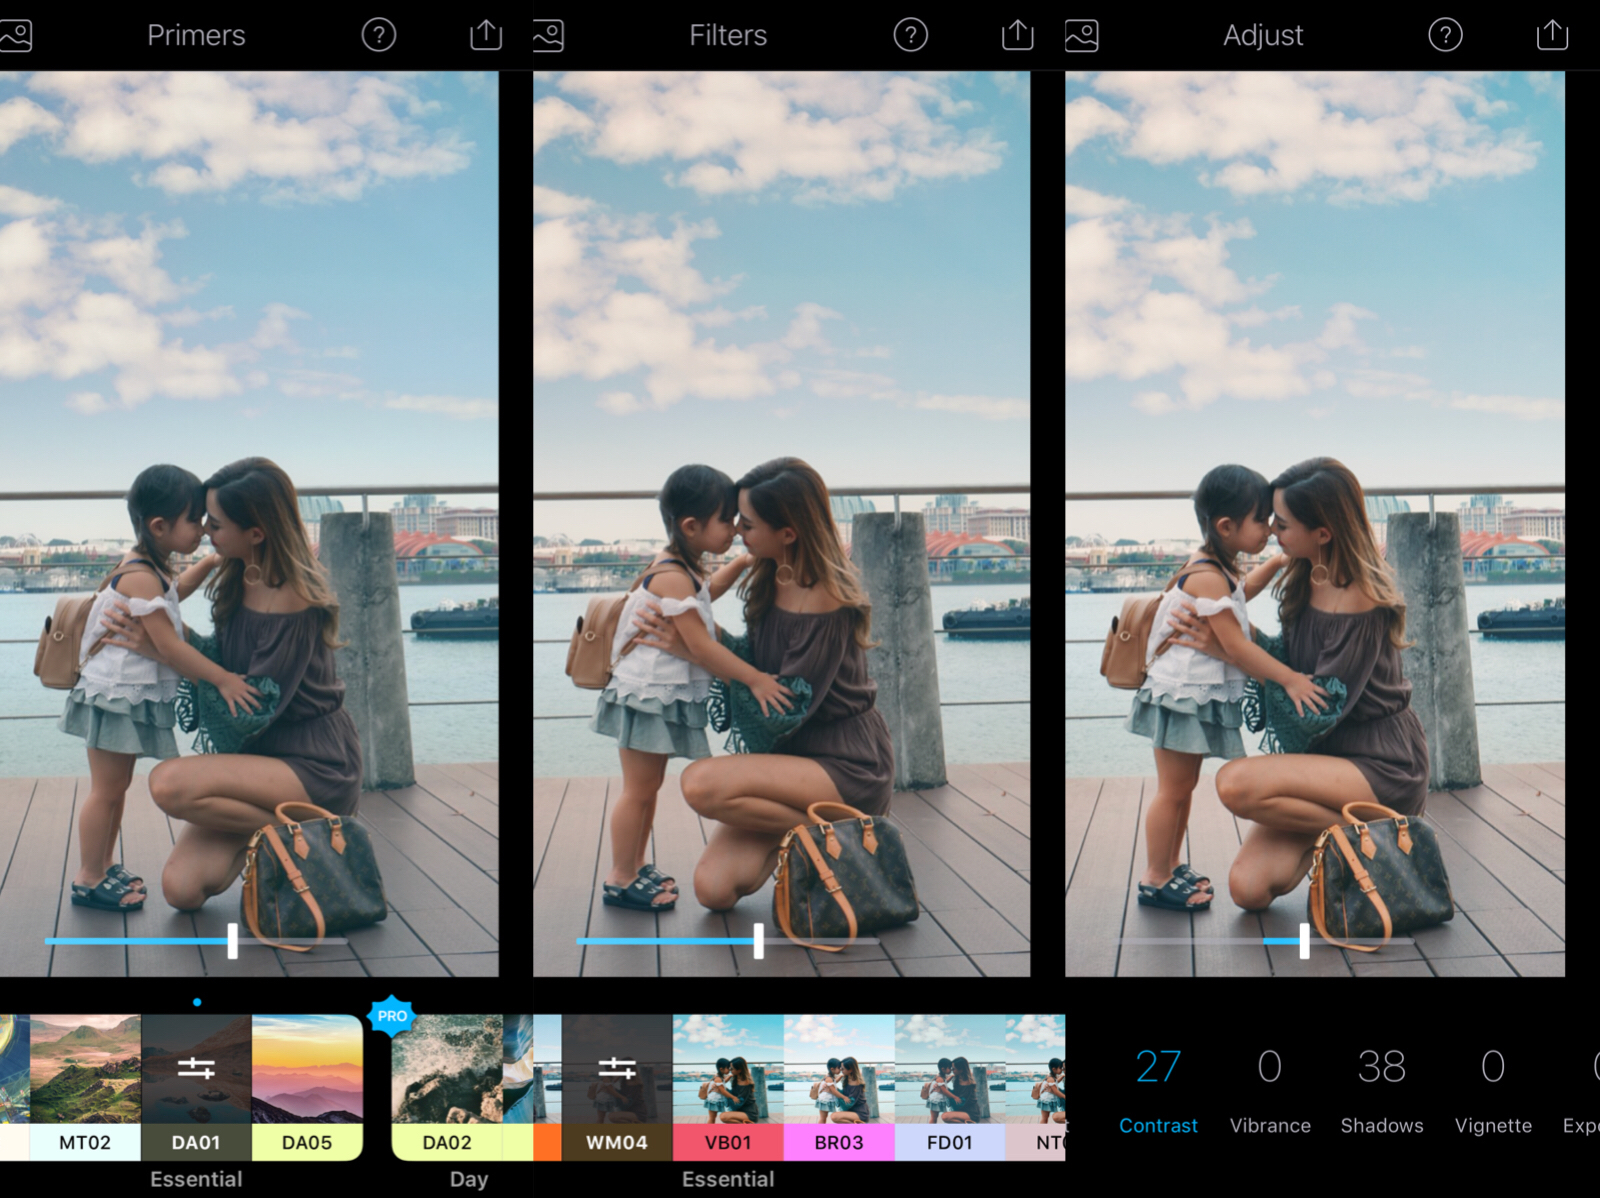
On top of that, there's a long list of primers and filters you can use so the colour blends perfectly.. you can easily change a sunny day to sunset feels etc

This is done with the app! I wanted an evening sky to suit the mood that I wanted to bring out for this photo :)

Another example of what I did with this app!

Another app I like to sometimes use with Enlight is VSCO if I wanted to solely edit the picture on my phone!
VSCO is the only app I've used so far that has similar Lightroom functions - HSL, Split Tone and Clarity. HSL enables you to change the hue of certain colours, for example blue to cyan tones, green to yellow tones or yellow to red tones etc. Technically you can do the same thing on the Lightroom mobile app but you'll have to install your own presets whereas VSCO already comes with a good selection of presets included in the app.
Using Photoshop to edit Skies

The sky and sun flare is done with photoshop while the colour editing is done with Lightroom for this picture
This video is pretty comprehensive!
My fast and easy version:
1. Find an image of the sky you want that suits your photo
2. Add as a layer unto image and place it in the "sky" area
3. Change mode to "multiply"
4. Adjust "opacity" of the sky
5. Use eraser tool to erase away excess parts
6. Duplicate original image as an additional layer over "sky" layer and use "multiply"
7. Reduce opacity of duplicate layer drastically so you don't lose too much detail
8. Make final adjustments to lighting

Here's another example of my photoshop/lightroom edit!
Hope this is useful for you guys :)


No comments:
I'd love to hear from you!